| The Secret to Perfect Raw Edge Machine Appliqué | 您所在的位置:网站首页 › raw machine › The Secret to Perfect Raw Edge Machine Appliqué |
The Secret to Perfect Raw Edge Machine Appliqué
|
The Secret to Perfect Raw Edge Machine Appliqué
by GillyMac | Jun 23, 2021 | Applique, Beginners, blog, Patchwork, Sewing Made Simple, Tutorial 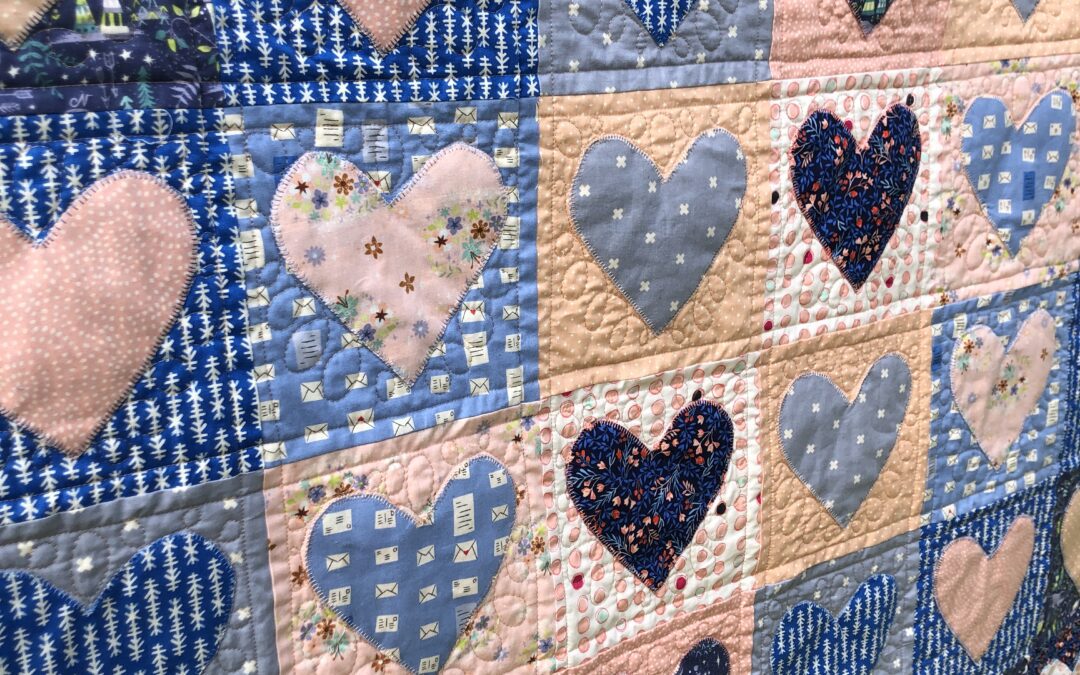
This tutorial covers raw edge Applique. Next week, I will cover turned edge machine applique with invisible thread, often called invisible machine applique. With all machine applique, there are three steps. Preparing the applique piece Providing the first fix of it on the background fabric Sewing it in placeLet look at all three steps for raw edge applique pieces we are going to sew in place. Preparing the Raw Edges PiecesThe applique pieces are fixed temporarily onto the background. Their edges are raw and unbound, hence the name. Raw edge applique is the simplest and quickest way to create an applique pattern with fabric. The pieces can be as small and intricate as you can cut them out, and there is the minimum of preparation needed.
For Bondaweb, you will trace on the smooth side of the paper, and for Steam-a-Seam Lite 2, it is on the gridded side. The outline traced will be the mirror image of the final applique pieced. For example, if tracing an alphabet, you should trace the mirror image to the last appliqué piece is the right way around. Once traced and roughly cut out, place the pieces on the reverse of the applique fabric. It is here you can choose a particular part of a fabric pattern to use. This placement is called fussy cutting and can be great fun and completely alter the eventual look of your applique panel. If using Bondaweb, you would use a dry iron to press the cut out glue web onto the wrong side of your fabric. The rough side of the Bondaweb should be face down on top of the wrong side of the material. If using Steam-a-Steam Lite 2, peel the blank paper sided away from the back of the sheet. Discard the blank paper and press the shape, glue side down onto the wrong side of the fabric. Next, trim around the traced outline to provide you with a perfect sized pieced in either case. Providing the First Fix
For Bondaweb, removed the backing paper and ironed the fabric down. The applique piece will be right side facing you. For Steam-a-Seam Lite 2, remove the gridded paper and press the fabric piece by hand onto the background. If you have other parts to add to the panel, you can do this now and then once everything is in perfect position, seal it with a dry, hot iron. Sewing In PlaceWe are now all set for sewing our applique pieces. Let’s look at the stitches best suited for this job! Which StitchTraditionally many people use a blanket stitch. These are Applique stitches 1-10 and 12 and 13 in the picture below on my machine. If your machine is like mine with lots of stitches, the ‘M’ means the stitch will fall on either side of the normal needle position. An ‘R’ means that the needle moves to the right, and that is where the straight stitches fall. Using a blanket stitch, I use the position R and line up the raw edge of my fabric with the needle position to the right. This means that the straight stitches of the blanket stitch fall directly on top of the raw edge and the long stitch extends over the applique piece. For machines that don’t have a blanket stitch, an over-edging stitch (Utility Stitch 14 below) is very similar. A zig-zag stitch is also a good applique stitch option. In this case, I would use the M option (Utility Stitch 8) and line up my raw edge in the middle of the stitch area of the foot. The stitch will then cross equally on either side of the raw edge. I often use a straight stitch (Utility Stitch 1) for tiny pieces which need hold down, and a stitch with any width would look messy.

Decorative stitches are not suitable for applique. Any stitch with a medium to long pattern length will look messy at the corners. It will be evident that the pattern is stopped and restarted at the corners. However, I often use a decorative stitch to embellish the applique after being secured onto the backing fabric. Threads
With the stitch and thread chosen, now is the time to practise some stitches to decide on the length and width you want to use. Take time to decide what works best for you. I use a blanket stitch of width 3 and length 1 or a zig-zag stitch of width 3 and length 0.8. Starting SewingIf you have a clear applique foot, then use it, otherwise use your regular zig-zag foot. Pick a corner to start on. If sewing a circle, start at the bottom. Bring up the bobbin thread to the top of your work, just like you do when quilting or drawing the bobbin thread up from the bobbin case. Pull both top and bottom threads to the back of your machine foot to stop the bobbin thread from showing through on your first stitch. If there is even a hint of it showing, you can thread it through to the back of your work with an easy threading needle once you have finished sewing. Sew stitches with width (blanket, overcasting, zig-zag) across the raw edge to seal it. Sewing the edges in a straight line is easy, but the corners are trickier. We want to avoid corners with stitches pointing out in all directions. Mastering the Corners
If you are using a zig-zag stitch as long as you pivot with the need in the applique piece (no on the backing fabric), it will be fine. By pivoting with the needle in the applique piece, the next stitch will be outwards over the edge of the material. Have a go and test it out. Skipped stitches are a frequent problem with applique. They are most often caused by the needle getting sticky. If not wholly set, the web glue can leave a residue on the needle as it pierces through the bond. I find this most often with Steam-a-Seam Lite 2 rather than Bondaweb. Should this happen? Please turn off the machine and carefully wipe the needle with a cotton work pad with a bit of nail varnish remover on it or even a damp soapy cloth. Both will do the trick. I find nail varnish remover better as it evaporates and doesn’t leave the needle wet. The only other problems I have encountered have been the bobbin and upper thread being different weights or thicknesses. Coming Next …..I hope you have found this helpful. Keep an eye out for the next instalment when we will be using invisible thread!
TweetSharePin31WhatsAppEmailPrint31 Shares |


【本文地址】